GarageKing Garage Set Up
Author: Raquel Date Posted: 19 July 2021
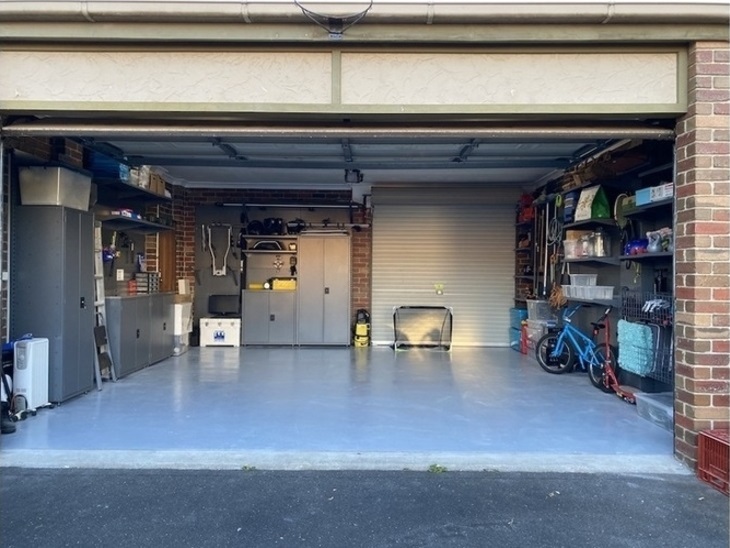
A garage storage system like this can seem overwhelming and may look like a lot of work. But, we're here to help make the process stress free and streamlined!
Let's take a look at this full garage set up from beginning to end.
First up, our design expert jumped on a call to establish the kind of storage system we needed. Then he headed over for a measure, design and quote on a customised garage storage solution to suit our life, interests and available space.
He assessed our mess, clutter, lifestyle and our budget and did a comprehensive measure and design, guiding us through the entire project from start to finish.
He created a tailored garage storage system to clear the clutter and get us organised.
Once we decided on the number of metal cabinets we wanted, we set to work on perforated wall bays and shelving needs.
Next, our garage storage design expert drew up a site measure worksheet and sent over the elevations to see which storage systems went where. We emailed back with a couple of changes, and then we were all set to go ahead!
It was a stress-free exercise, and now after it's all said and done, we can't believe how much storage space we have!
The next step was to remove everything from our garage. And seriously, we had amassed a lot of stuff! And kept a lot of crap! So, since we had to empty the place anyway, we embarked on a massive decluttering exercise and decided to epoxy the floor and paint the ceiling.
One of the things I love about this metal wall storage system is its flexibility. You can have shelving on the wall from floor to ceiling like we've done here and still clip in hooks or holders between them to take advantage of every inch of your wall. It keeps it all looking incredibly neat and organised too.
Our storage expert explained that because exposed brick is often uneven, he would need to baton out the walls rather than attach the posts directly to the bricks. This ensures a safe and level garage storage system.
Once he installed the posts, the panels, perforated wall bays and pier bays were attached. This is where things started to get exciting! It was really starting to take shape!
They level checked every bay and post to ensure they were, well, level!
As they finished installing our garage storage, they impressively cleaned each area. I didn't need to sweep up a single thing after they finished our install - it was spotless! They cleaned down all shelves and cupboard doors.
As well as customised storage to suit our lifestyle, they also customised our power point with a GPO surround – you'll spot the sparks in the video! Now that's attention to detail! Although my old grotty power point stuck out like a sore thumb in our gleaming, sleek new garage, so I made my husband change it for a new one!
All in all, it was a seamless process that removed all the stress from creating our dream garage. I can see why people call these modular storage solutions 'smart wall storage systems'.
I can rearrange these wall bays and adjust the shelving heights, add baskets, different hooks, holders and brackets, and that gives me confidence that this investment in the garage is one of the best things we have ever done. I know it will grow with our family and our interests.
Plus, it looks fantastic, is manufactured with 1.2mm mild steel and has a stylish modern grey powdered coat finish.
But the icing on the cake is how much storage space we have now! It's crazy - in the best possible way.
If you need help decluttering and organising your garage and belongs you can download our FREE GarageKing Garage Goals e-Book here: Garage Goals – How To Create Your Dream Garage.